
Changing an ICE or ClearView visor: preparation and checks
PublishedBy Pro Sport Lights · Content updated
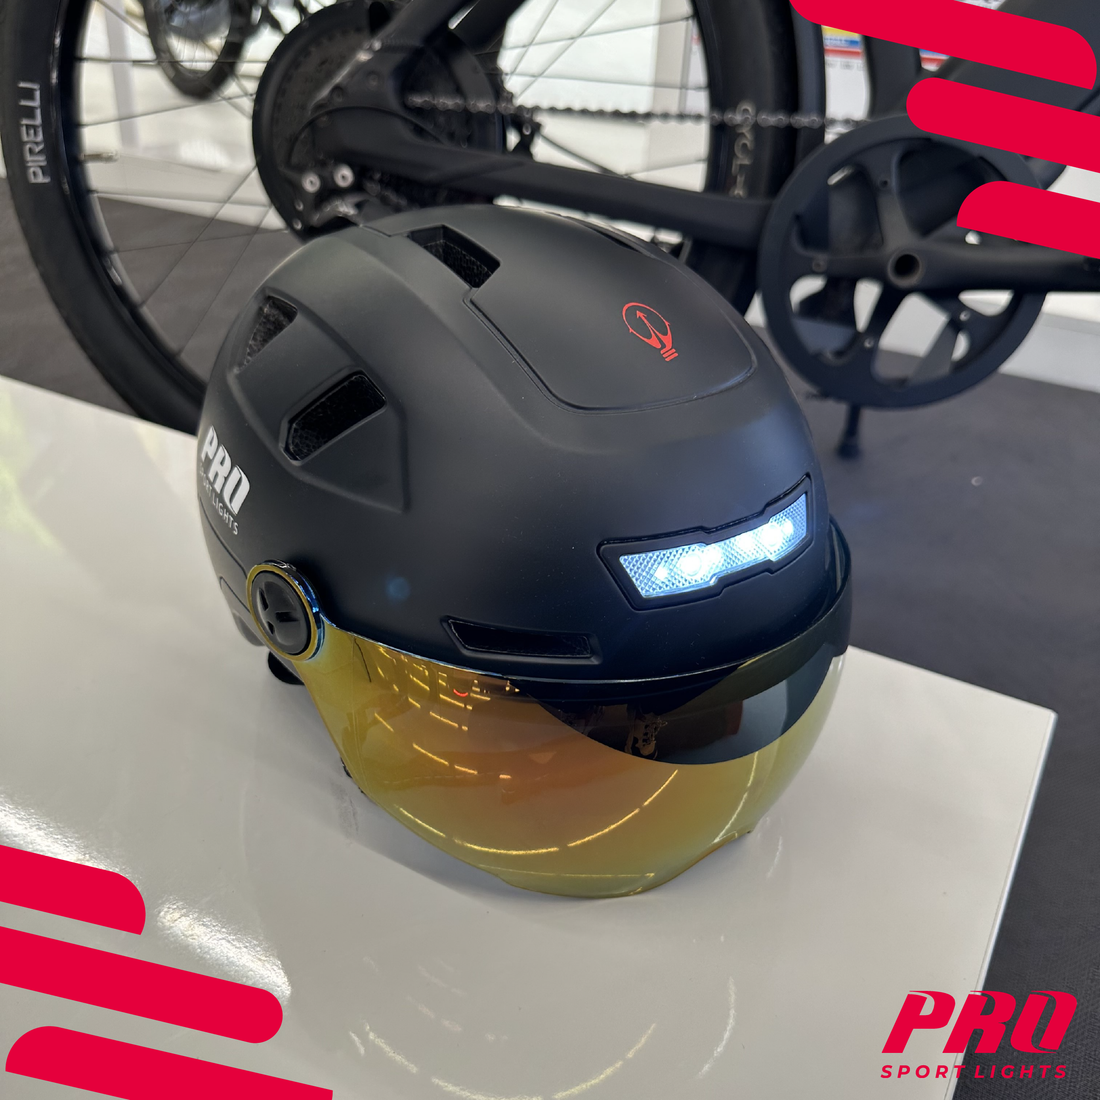
The short answer: Changing a visor properly starts with a compatible part and the correct instructions. Do not use force if the mount will not come loose, and do not pull on the visor.
What should you check first?
- The exact name and version of your helmet.
- Whether the new visor is explicitly suitable for that model.
- Whether the knobs, mounting points and visor are undamaged.
- Whether the instructions you use show the same mount.
Which instructions apply to ICE or ClearView?
For ICE, use the included tool. ClearView has tool-free rotary knobs. The two visor systems are not interchangeable.
Open the ICE video guides in Dutch, French, English and German. Have ICE? Watch the steps before you begin. Do not use these videos as ClearView instructions.
ClearView uses rotary knobs on both sides and a tool-free visor change. Do not overtighten the mount. Have ClearView and a stuck knob? Do not force anything, and ask us for advice with a photo of the mount.
Check the result
The fitted visor must be securely attached, move freely and provide clear vision. Test this while stationary. A crack in the mounting point or a part that does not fit is a reason to stop and contact us.
Ordering the right part
Order ClearView visors for ClearView or ICE visors for ICE. Both helmets already come with a clear visor and a dark sun visor; an extra is optional. Unsure about the model? Send the model name and a photo of the mount to our customer service team. Checking compatibility first helps prevent an incorrect order.
Also read which extra visor to choose. Still looking for a helmet with a visor? Compare ICE and ClearView.
Need help choosing? Email info@prosportlights.com with your question and, where relevant, the model or your head circumference. We can help you decide.